
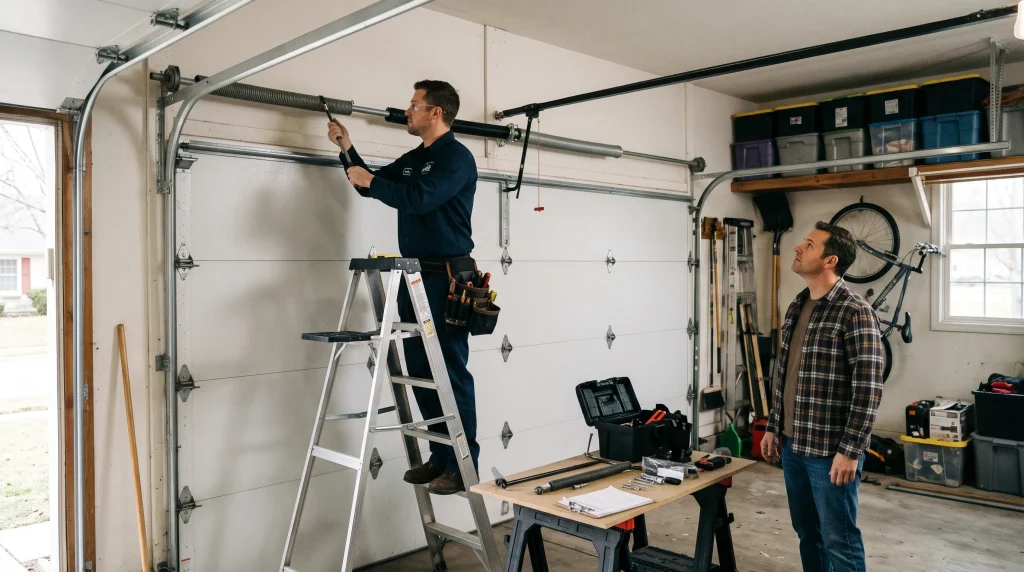
Professional service for a broken spring covers far more than the springs themselves, including inspection, measuring, safe removal, installation, balancing, and final testing of the door. Knowing what belongs in a proper garage door spring replacement makes it easier to tell a thorough technician from one who cuts corners.
Rushed jobs that leave out balancing or inspection often lead to premature failure, loose hardware, or a door that drifts and sags soon after the technician leaves. This guide outlines every stage of the visit, from the first safety check to the warranty details and care tips shared at the end of the job.
Key Takeaways
- Inspection comes first to find worn cables, rollers, and drums.
- Accurate measurements decide the size of the new springs.
- Releasing tension safely requires trained hands and proper tools.
- Balance testing confirms the door lifts evenly after installation.
- Warranty terms and care tips close out a complete visit.
Steps in a Professional Garage Door Spring Replacement
Garage door spring replacement follows a set order on service day, since each stage protects the technician, the household, and the rest of the door.
| Service Step | Technician Task | What It Prevents |
| Safety inspection | Checks cables, drums, rollers, and tracks | Hidden damage left behind after the job |
| Measuring | Records wire gauge, length, and diameter | Undersized or oversized replacement springs |
| Releasing tension | Unwinds the old springs with winding bars | Sudden release and serious injury |
| Installing and winding | Mounts new springs and sets the turns | Uneven lift and extra strain on parts |
| Balancing and testing | Runs the door through full cycles | An unbalanced door straining the opener |
| Final walkthrough | Explains warranty and care | Confusion over coverage and upkeep |
Thorough work on service day pays off for years through fewer breakdowns, smoother daily use, and a longer life for the whole garage door system.
Initial Safety Inspection
Technicians start with a full safety inspection of the door, since a failed spring often leaves other parts worn, loose, or out of place.
Inspection usually covers these areas before any work begins:
- Lift cables checked for fraying or slack.
- Drums inspected for cracks and proper cable wrap.
- Rollers and hinges reviewed for wear or wobble.
- Tracks examined for bends that affect travel.
- Tightened loose hardware along the panels and brackets.
Worn rollers found during inspection can be addressed with a garage door roller repair on the same trip, which keeps the new springs from fighting rough travel.
Measuring the Old Springs
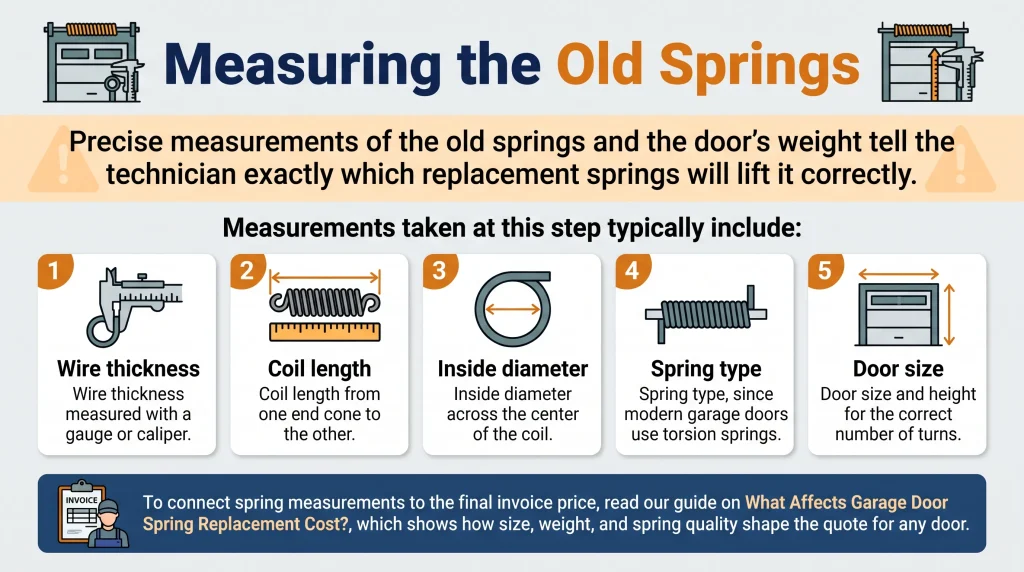
Precise measurements of the old springs and the door’s weight tell the technician exactly which replacement springs will lift it correctly.
Measurements taken at this step typically include the following:
- Wire thickness measured with a gauge or caliper.
- Coil length from one end cone to the other.
- Inside diameter across the center of the coil.
- Spring type, since modern garage doors use torsion springs.
- Door size and height for the correct number of turns.
To connect spring measurements to the final invoice price, read our guide on What Affects Garage Door Spring Replacement Cost?, which shows how size, weight, and spring quality shape the quote for any door.
Releasing Tension and Removing the Old Springs
Old springs hold significant tension even after one breaks, so an experienced technician unwinds them in controlled steps.
Safe removal depends on these precautions from the technician:
- Clamp the door to the track so it stays closed.
- Disconnect the opener to prevent accidental movement.
- Insert winding bars fully into the cone.
- Tension released a quarter turn at a time.
- Unwind the remaining spring evenly, even if only one has broken.
Unwinding under load carries a real risk of serious injury, which is why a garage door torsion spring repair belongs in the hands of trained technicians.
Installing and Winding the New Springs
Technicians mount new garage door springs on the shaft or tracks and set them to the correct tension, using Duramaster powder-coated springs on every job.
Professional installation at this point involves steps like these:
- Springs sized to the measurements taken earlier.
- Turns counted carefully while winding torsion springs.
- Stretch extension springs and hook them with safety cables.
- Install the second spring during the same visit for paired setups.
- Cones tightened securely onto the torsion shaft.
To decide whether both springs should go in at the same visit, read our guide on Is Double Garage Door Spring Replacement Worth It?, which makes the long-term case for replacing a pair together.
Balancing and Testing the Door
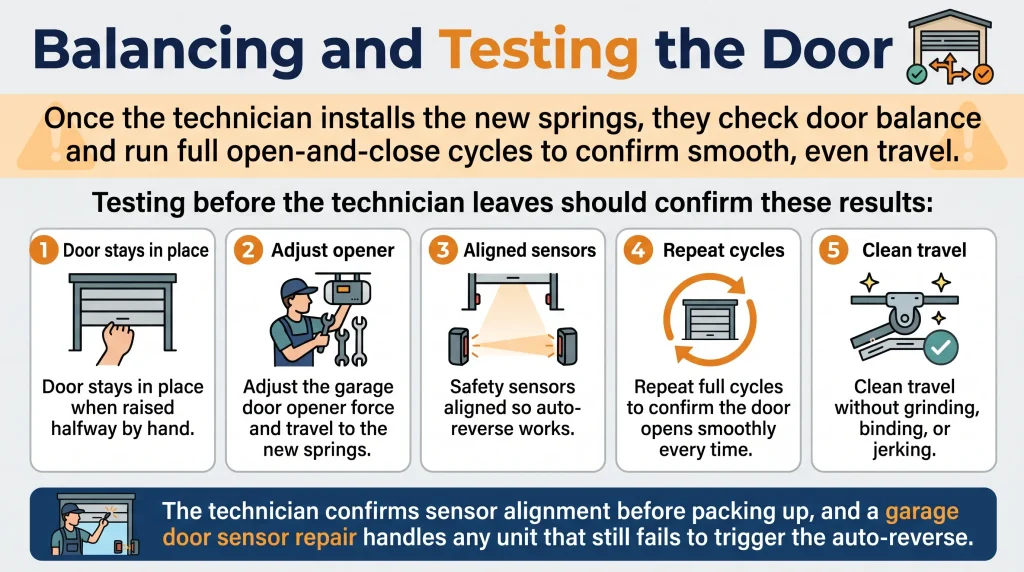
Once the technician installs the new springs, they check door balance and run full open-and-close cycles to confirm smooth, even travel.
Testing before the technician leaves should confirm these results:
- Door stays in place when raised halfway by hand.
- Adjust the garage door opener force and travel to the new springs.
- Safety sensors aligned so auto-reverse works.
- Repeat full cycles to confirm the door opens smoothly every time.
- Clean travel without grinding, binding, or jerking.
The technician confirms sensor alignment before packing up, and a garage door sensor repair handles any unit that still fails to trigger the auto-reverse.
Warranty and Final Walkthrough
The visit wraps up with a walkthrough of the work completed, the five-year warranty on the springs, and simple steps to keep them in good shape.
Expect the technician to cover these points before leaving:
- Summary of parts replaced and adjustments made.
- Five-year warranty terms on the Duramaster springs.
- Care tips for lubrication and monthly balance checks.
- Guidance on when to book regular maintenance.
- Warning signs worth reporting before the next visit.
To plan for the full cost of a visit before booking, read our guide on How Much to Replace Garage Door Spring?, which compares pricing across torsion, extension, and powder-coated spring options for any door.
How to Prepare for a Spring Replacement Visit
A little preparation before the technician arrives keeps the visit safe, efficient, and focused on the door itself from the moment work begins.
Take care of these steps once the appointment is booked:
- Keep the door closed and avoid using the opener.
- Park vehicles outside so the technician has room to work.
- Clear shelves, bikes, and storage from the door area.
- Note any loud bang heard when the spring breaks.
- Have past warranty paperwork ready for the technician.
Keep pets and children out of the garage during the visit, since springs under tension and moving panels create hazards for anyone nearby.
A Complete Spring Replacement Covers Far More Than the Springs
Proper spring service protects the whole door by pairing fresh springs with inspection, precise sizing, safe tension work, and full on-site testing. Owners who know what a complete visit looks like can hold any company to that standard and expect lasting results from their new springs.
Bradbury Garage Doors sends licensed, bonded, and insured technicians to homes across San Diego, CA, to complete every step of a spring replacement from the first inspection to the final balance test. Contact us or give us a call today to book a complete spring replacement visit handled with care from start to finish.
Frequently Asked Questions
Is a safety inspection part of every spring replacement?
Yes, thorough professional repair always begins with a check of cables, drums, rollers, and tracks before any spring work starts. Inspection finds garage door parts damaged by the failed spring, so nothing unsafe stays on the door after the job.
Will the technician adjust the garage door opener after new springs go in?
Yes, new springs change how the door moves, so the technician adjusts the opener force and travel settings to match the new balance. Correct opener settings also reduce motor wear and help it run reliably throughout the life of your garage door.
What happens to the old springs after removal?
The technician usually hauls away old springs, since worn coils aren't safe for any second use on any door. Holding the old and new springs side by side also shows how much wear builds up over many cycles.
Does spring replacement include new cables or rollers?
We add new cables or rollers only when inspection shows wear, and the technician explains any extra garage door repair before starting. Replacing worn parts during the same visit avoids a second service call and keeps garage door repair costs lower over time.
Who should be home during the service visit?
An adult should be home to approve the work, answer questions about the door, and review the warranty at the end. Garage door companies with strong customer satisfaction records keep homeowners informed at each step without slowing the job.
Are lubrication and hardware tightening part of the job?
A thorough job includes lubricating the new springs and moving parts, along with tightening any hardware that has worked loose. Professional garage door spring repair that includes these steps protects the springs from premature wear and improves durability.
Can the door be used right after new springs are installed?
Yes, the door is ready for normal use once balancing and testing are complete, and the technician confirms smooth travel. A properly balanced door should open and close with light effort, so any heavy feel afterward deserves a quick call back.
What does a balance test show after installation?
A balance test confirms the new springs carry the door's weight evenly, so it neither slams down nor shoots up on its own. Doors that fail the test get adjusted on the spot, since an unbalanced setup puts extra strain on the whole spring system.
Which warranty terms come with the replacement?
Our Duramaster powder-coated springs come with a five-year warranty, which gets explained in full before the technician leaves. Asking about warranty terms is a smart step with any professional spring replacement, since coverage varies widely between companies.